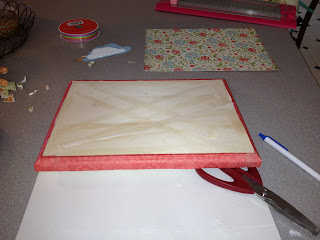
Supplies: Designer paper (Stampin Up), wood wall plaque, Mod Podge, foam brush, appliques (I used a cloud and sun), ribbon, wall hangers, glue gun. I got most of the supplies except the paper from Michaels.
Here's a picture of most of the supplies:

First I cut strips and Mod Podge'd the sides of the plaque, then cut the paper to fit the front of the plaque and applied the adhesive to both the wood plaque and the back of the paper. Then smoothed it down gently.

 I used a cricut machine and the School Book cartridge to cut the letters. The size for the dial I think was a 4 1/2. I then applied the letters to the plaque using Mod Podge again. This stuff is amazing! I used adhesive on the back of the letters and then smoothed them gently on the plaque and then once they had a minute or two to set I brushed Mod Podge on top of the letters to seal them in.
 I forgot to take a picture describing what I did for the sun. Basically, the sun was plain wood colored. I cut/tore orange paper into little strips and then applied Mod Podge to the sun and the paper and stuck the paper to the sun.
 Next I applied the sun and the cloud to the plaque using a glue gun. I cut 4 equal pieces of ribbon and attached the ribbon to the back of the plaque using a generous amount of glue from the glue gun.
I tied a knot at the bottom of each ribbon to keep the barrets from slipping off the bottom. But was thinking a fun big bead of some sort would be really pretty as well.

I haven't bought a wall hanger yet for the back or else I'd show you what it looks like on the wall. I'm not sure if I"ll end up using the glue gun to attach the wall hanger. I think that I would like to use some small screws to attach the hanger to make sure its a little more sturdy.
Happy Crafting!
No comments:
Post a Comment